☕️ Step-by-step: Safely send files and text using Bitwarden Send


To successfully complete this Instruction, you'll need
- To have Bitwarden set up on desktop. We'll be using the Send feature of Bitwarden Desktop to send files and text safely. You can use this quickstart to get Bitwarden ready for use.
 Manil
Manil
By the end of this Instruction, you'll
You'll be able to send files and text safely and efficiently using Bitwarden Send.
Helpful words
When we use words in a way that is unfamiliar, come back here then click through to an explainer in the Glossary.
Let's get started!
1. Run Bitwarden
Run the Bitwarden app on your desktop. How you do this looks different for every desktop operating system.
The Send feature is part of Bitwarden's functionality. The next steps in this Step-by-Step will help you use Send from the desktop app.
2. Go to the Send interface
In the Bitwarden app, tap "Send" go to the Send interface.
3. Start a new Send
Tap + to start creating a new Send. This is the first step to creating a new Send.
4. Name your Send
Type a meaningful name for your Send. It helps to be descriptive. When you have multiple active Sends, it can become easy to lose track of the actual contents and intended audience if you just type "invoice".
5. Choose the type of Send
You can send either text or a file. In this guide, we're sending a file.
With a free Bitwarden account, you can send only text. We find Bitwarden's free features worth signing up for, and paid features to be good value for the annual subscription of $10 USD. Some services charge about $30 per month for HIPAA-compliant file sharing. If you don't want to pay, follow along with the Step-by- Step using text.
The file we'll be sending is small. You can send files upto 500mb in size from Bitwarden for desktop (Sources: 1).
Tap the radio button under "What type of Send is this?" to choose the type of your Send.
6. Select the file to send
Tap "Choose file" to attach the file you'll be sending.
7. Automatically copy the link
The link for your Send is what you actually give people so that they can access the contents of the Send.
Tap the checkbox to have the link copied to your clipboard automatically when you save your new Send.
8. Save the Send
Saving makes the Send ready to be given to people.
Tap the floppy disk icon to save.
Recommended next step
Well done!
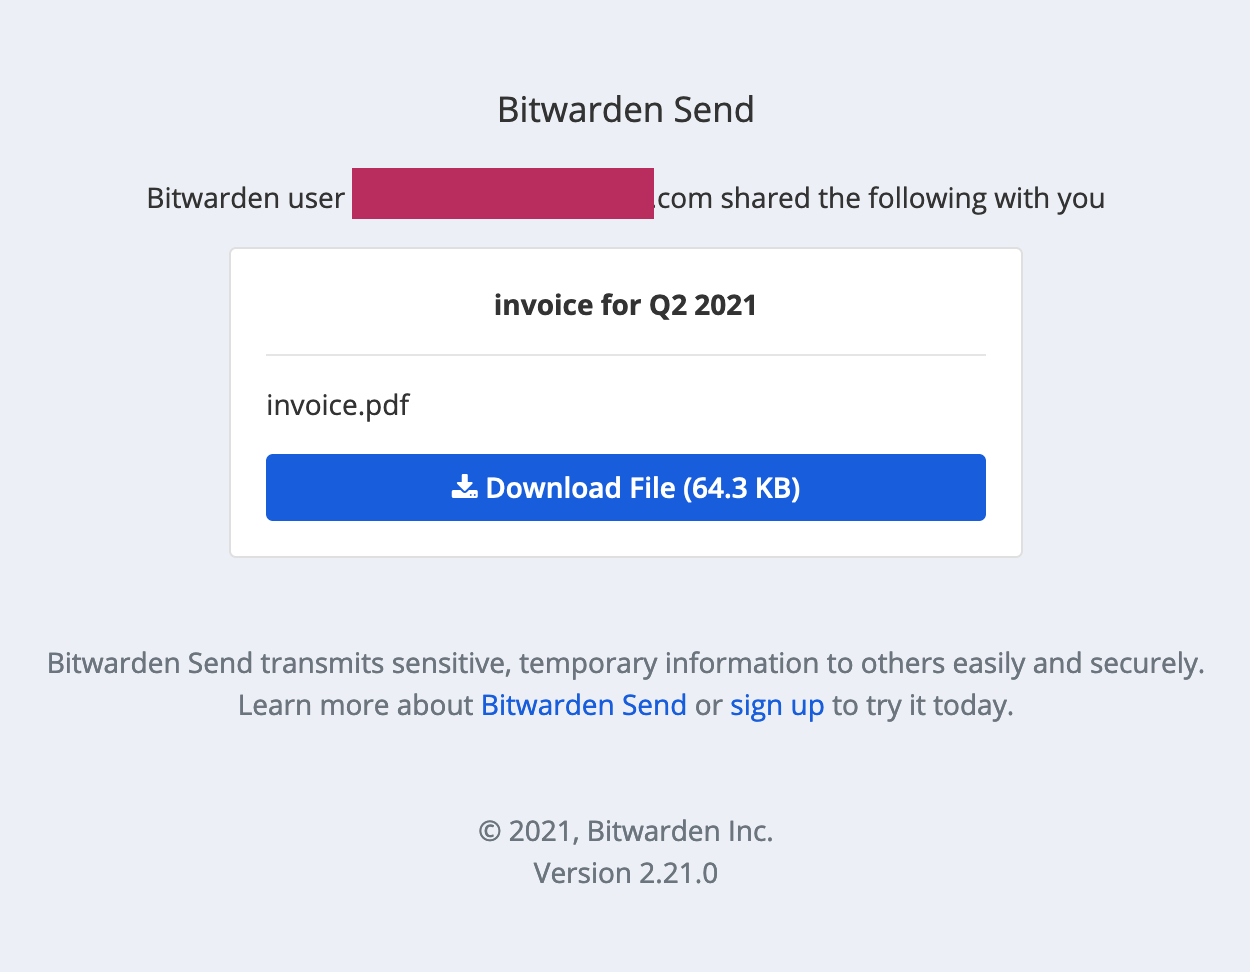
If this is you're first time creating a Send, we recommend testing to see it work, so that you can be confident that your recipient can use it successfully!
Step 7 automatically copied the link to the keyboard. Open a new browser tab and paste the link. The link would look something like: https://send.bitwarden.com/#SDhXxud3REC61YAYWQrw/JgRFQxlpTIRb0vUF6-2sw
For tips about getting support for Bitwarden, use the How to Get Support section of our Product Profile for Bitwarden.
Meta
Tools used
Find more information about the tools used in this Step-by-Step.
Manil